Broadcastify Raspberry Pi Feed Appliance Image
These instructions show you how to download and install a completely pre-configured image for the Raspberry Pi to function as a broadcast appliance for Broadcastify.
The Broadcastify Raspberry Pi Image comes preinstalled with the following software:
- Darkice - Audio Streamer for Broadcastify Feeds
- SDR-Trunk - SDR Trunked Radio Capture Software
- Trunk Recorder - SDR Trunked Radio Capture Software for Broadcastify Calls
- RTLSDR-Airband - SDR Capture and Broadcastify Feed Software for AM Aircraft
- VoxCall - Broadcastify Calls Audio Capture Software
- OP25 (boatbod fork) - Trunk Radio System Decoder
- LiquidSoap - Audio management toolkit
- BCFY Shell - Management shell for configuration, management, and update of Broadcastify Feed Services
The image also features preinstalled and configured utilities for SDR Software, including RTL-SDR, Airspy, and HackRF utilities.
NOTE: This image only supports Raspberry Pi models 3B and greater. Raspberry Pi Model 2 hardware is not supported.
Resources
- Broadcastify Raspberry Pi Image Wiki Page - Tips and Trick, Links to Videos, Advanced Instructions, Expert Topics
- Broadcastify Raspberry Pi Forums Thread - Community discussion regarding the image and setup.
Recommended Raspberry Pi Hardware
The following packages are the recommended Raspberry Pi Kits for the Broadcastify Raspberry Pi Feed Appliance Image. These packages provide everything you need in kit form to be up and running in minutes.
- Raspberry Pi 5 - Best for 2 or more darkice feeds, or running SDR-Trunk. Will also broadcast a large trunked system site to Broadcastify Calls using Trunk Recorder.

-
Raspberry Pi 4 - Best for 2 or more darkice feeds. Will also broadcast a medium size trunked system site to Broadcastify Calls using Trunk Recorder.

Recommended Soundcards
The Raspberry Pi does not come with a microphone built in, so you will need a USB soundcard for each feed you plan on broadcasting. The following are two recommended and tested soundcards. The Ground Loop isolator listed below is strongly recommended for each feed to reduce hum and audio interference.


Ground Loop Isolator
Don't skip this step. Read it. Seriously. A ground loop isolator strongly recommended for each feed to reduce hum and audio interference.

Download and Flash Image to SD Card
To get started with your Raspberry Pi, download and install balenaEtcher on your computer. balenaEtcher is used to flash the preconfigured Broadcastify Image to an SD card.
Steps to Flash Image to SD Card using balenaEtcher:
- Insert or attach a blank SD Card to your computer
- Run balenaEtcher
- Download the image to a location on your hard drive:
Download - Choose "Flash from File" and choose the downloaded image on your hard drive.
- Select your SD card as the target
- Click Flash!
- When the flash has completed, insert the SD card into your Raspberry Pi, Power On, and follow the configuration sections below. When you first boot the image, the raspberry pi will reboot 3 or more times to complete the initialization process.
Update to Latest Version
Fixes and updates to the image are periodically released. To update to the latest version follow these steps:
- Start the Raspberry Pi with the SD card you flashed from the "Download and Flash Image" section above.
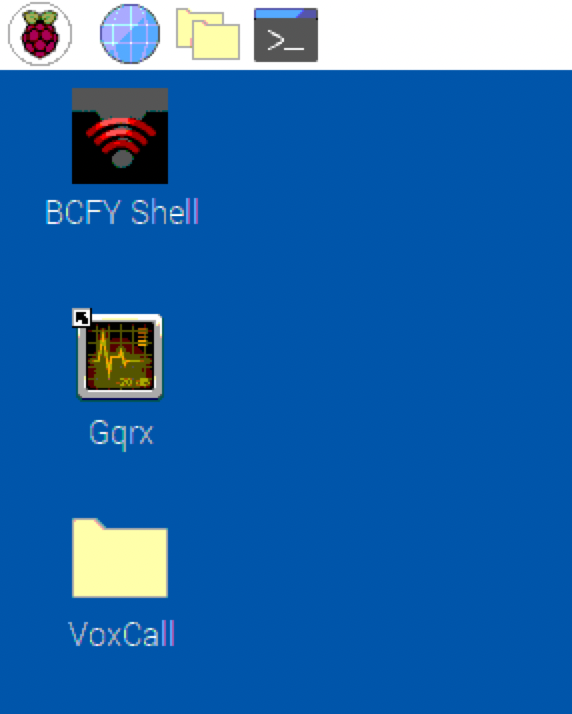
- Double Click the "BCFY Shell" icon on the desktop
- Enter Option [9] - Check for Updates
- Enter your Broadcastify Username and Password when prompted.
- If updates are available you will be prompted to install them
- Reboot the device if prompted to do so
Configure Broadcastify Darkice Feed
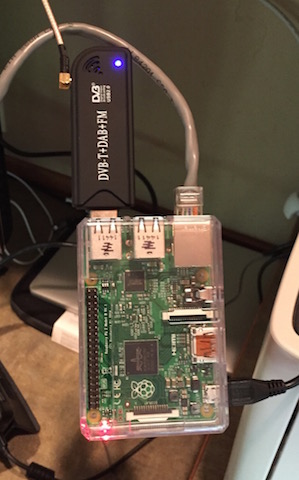
If you want to broadcast a single feed to Broadcastify, connect your scanner or receiver to the "Mic Input" on your soundcard and follow these steps:
- You should already have an approved feed application here: Broadcastify Feed Application. You can review your approved and active feeds here: My Audio Feeds
- Start the Raspberry Pi with the SD card you flashed from the "Download and Flash Image" section above.
- Double Click the "BCFY Shell" icon on the desktop
- Enter Option [2] - Configure Darkice
- Enter [1] to configure Darkice Instance #1
- Enter the Soundcard Instance # for your attached USB Soundcard Device.
- Enter your Broadcastify Username and Password when prompted. This will retrieve a list of all your approved Broadcastify Feeds
- Enter the feedId of the feed you wish to configure
- Choose Y/N to configure the feed to start on boot
- Choose Y/N to start the feed broadcast
- After a few moments, you can check the status of your feed at: My Audio Feeds
Configure Trunk Recorder for Broadcastify Calls
If you want to capture a trunked radio system site(s) and send to Broadcastify Calls, follow these steps. You will need to have a trunk-recorder supported SDR attached to the Raspberry Pi.
You will need to provide your own Trunk Recorder config.json file. More information on Trunk Recorder and it's configuration can be found here: Trunk Recorder. A supported SDR is required (see below)
- You should already have an approved Broadcastify Calls Ingest Node application from here: Broadcastify Calls Ingest Feed Application. You can review your approved and active ingest nodes here: My Call Ingest Nodes
- Open a terminal instance by clicking the terminal icon on the top toolbar
- Copy or create your trunk recorder config.json file in the following path: /home/pi/bcfy/configs/trunk-recorder/config.json
Note: trunk-recorder example template files are located in /home/pi/bcfy/configs/templates/trunk-recorder . You can copy one of these example files to /home/pi/bcfy/configs/trunk-recorder/config.json to get started. - Double Click the "BCFY Shell" icon on the desktop
- Enter Option [1] to Start/Stop Services
- Enter Item [2] to configure trunk recorder
- Enter Option [1] to start trunk recorder
- Enter Option [4] to enable trunk recorder to start on boot
Recommend SDR Hardware for Trunk Recorder
The following SDRs are recommended for use with Trunk Recorder.


AirSpy Products Listed Below are also STRONGLY recommended for their stability and wide bandwidth:
- Airspy Mini SDR - $99.00
- Airspy R2 SDR - $169.00
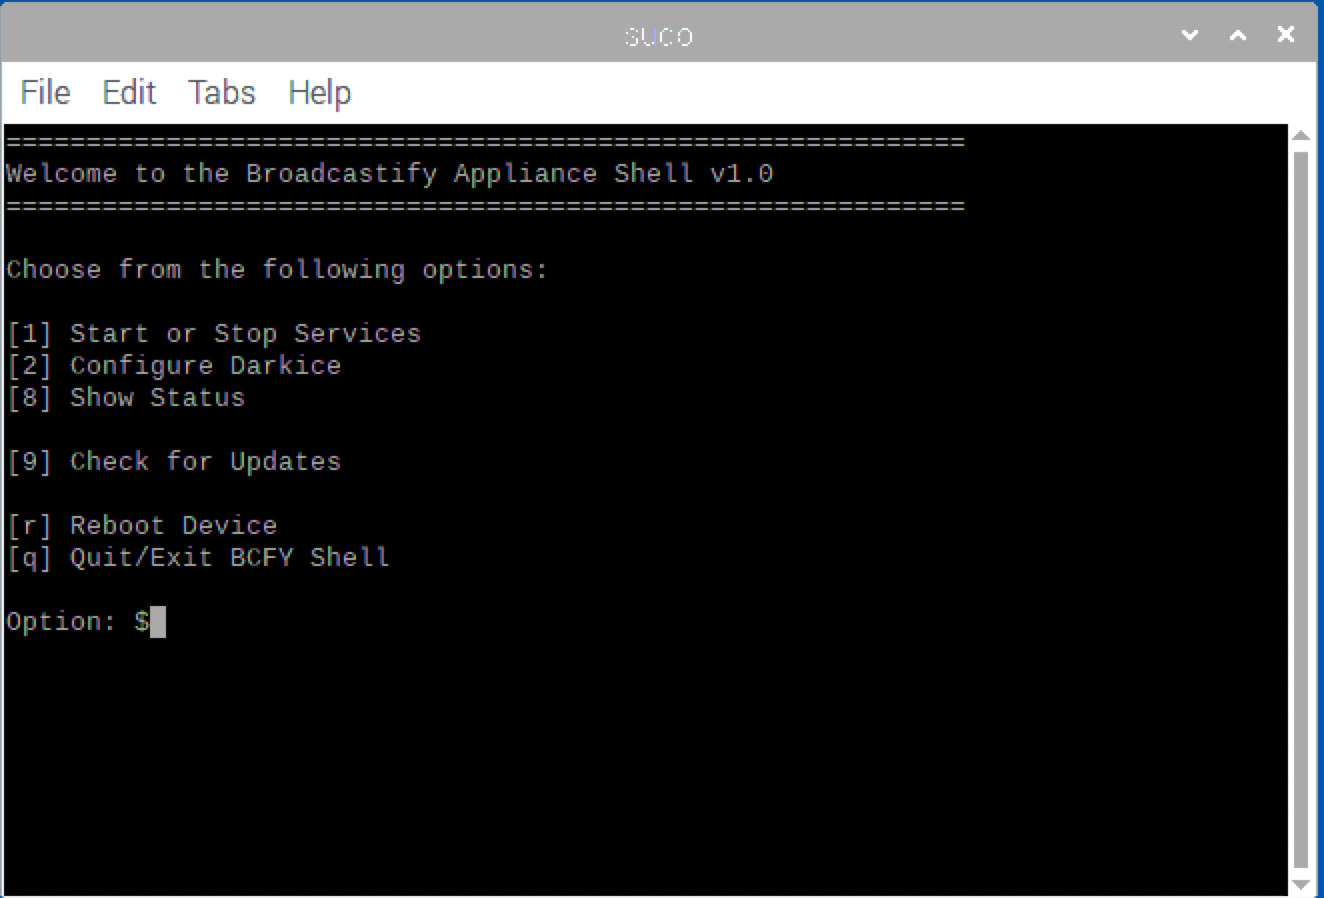
The Broadcastify Shell (BCFY Shell)
The Broadcastify Shell allows you to configure and manage most of the services and features of the Broadcastify Feed Appliance Image. You can run the shell by double-clicking the "BCFY Shell" Icon on the desktop.
The options available are as follows:
- Option [1] Start/Stop Services - Allows you to start and stop darkice and trunk recorder. You can also configure each to start on boot.
- Option [2] Configure Darkice - Allows you to configure up to 4 darkice broadcast instances using your Broadcastify Username and Password.
- Option [8] Show Status - Shows running and boot status for all configured broadcast services.
- Option [8] Check for updates - Allows you to update the feed appliance software to the latest version.
- Option [r] Reboot Device - Reboots the Raspberry Pi feed appliance.
Advanced Notes
- Default Login and Password for the appliance is pi / bcfy01a
- DO NOT change the default username pi to any other value unless you want to break things on this image. You are more than welcome to change the hostname or the password for the pi user.
- A SSH and VNC server are both running on the appliance for remote management. The VNC Server is running on port 5900, and accepts the same username/password listed above.
Image Release Notes
- Version 3.01 - Bug fixes
- Version 3.00 - Rpi5 Support (Bookworm), SDR-Trunk, Trunk-Recorder 5.0, OP25, LiquidSoap
- Version 2.10 - BCFY Shell v1.10
- Version 2.00 - Initial 2.0 Release
BCFY Shell Release Notes
- Version 3.01 - Bug fixes
- Version 3.00 - Image Version 3.0
- Version 1.10 - Image Version 2.1
- Version 1.09 - Various Bug Fixes
- Version 1.07 - Disable onboard audio which introduces conflicts for various use cases
- Version 1.04 - USB Kernel Tweaks for more than 2 feeds
- Version 1.02 - Various Bug Fixes. Fix for soundcard enumuration for some Raspberry Pi Models.
- Version 1.0 - Initial 1.0 Release